Nicole
Showing posts with label DIY ideas. Show all posts
Saturday, November 27, 2010
DIY- A Built In Over The Door Decorative Shelf Reveal
Monday, November 8, 2010
Flea Market Find - Put Together A Primitive Window Display For Under $20
I wanted to create the feel of a handmade holiday in our home this year. So besides the big projects, I'm also focusing on some little projects that are simple and inexpensive to make.
This project come together after one very successful trip our local flea market last week.
There I found some great deals, an old wooden window frame for $5 and an old style shelf with peg hooks for $2. I got them from two different vendors, so I couldn't believe how well they went together when I put them up on the wall.
The week before I went to flea market, I found 2 pewter candle holders at the salvation army for 50 cents each.
They go perfect with this display. After putting it all up, I wanted to jazz it up a bit so after another quick trip to the craft store I bought a small $3 wreath, a spool of red gingham ribbion, a rust colored star ornament for $1, and a set of 20 white x-mas lights for $1.99.
I wrapped the wreath with the lights, tied 6 red gingham bows and attached them with some wire I had at home. Then cut a long strip of ribbion to dangle the whole wreath from, and then in a matter of minutes, instant home made holiday project.
The other items I decided to add I picked up either at the craft store or Walmart. If I exclude the FAMILY sign that cost me $9 at Walmart, I would say this whole display only cost me under $20 to put together. Now that's a homemade holiday project that won't break your budget if ever I saw one.
Thanks for stopping by,
Nicole
This project come together after one very successful trip our local flea market last week.
There I found some great deals, an old wooden window frame for $5 and an old style shelf with peg hooks for $2. I got them from two different vendors, so I couldn't believe how well they went together when I put them up on the wall.
The week before I went to flea market, I found 2 pewter candle holders at the salvation army for 50 cents each.
They go perfect with this display. After putting it all up, I wanted to jazz it up a bit so after another quick trip to the craft store I bought a small $3 wreath, a spool of red gingham ribbion, a rust colored star ornament for $1, and a set of 20 white x-mas lights for $1.99.
I wrapped the wreath with the lights, tied 6 red gingham bows and attached them with some wire I had at home. Then cut a long strip of ribbion to dangle the whole wreath from, and then in a matter of minutes, instant home made holiday project.
The other items I decided to add I picked up either at the craft store or Walmart. If I exclude the FAMILY sign that cost me $9 at Walmart, I would say this whole display only cost me under $20 to put together. Now that's a homemade holiday project that won't break your budget if ever I saw one.
Thanks for stopping by,
Nicole
Sunday, November 7, 2010
Entryway Nook - Key Collage Wall
I've been going around the house trying to add some color to the walls one by one. Most of the rooms still have the same off white base coat color they had when we moved in 3 years ago!
So I've been thinking up projects to work on and today I tackled the nook in the entryway, and the lower half of the dinning room at the same time.
The idea for the nook, came to me one day, when I realized I collect allot of keys. I just love skeleton keys, if I find a really nice looking key, I just have to have it.
I really don't know why I love them so much, but I think it might have something to do with the secret or mystery of what they unlock.
Keys open so many great things, doorways to old long forgotten rooms, hope chests, old iron gates, our diaries filled with our most treasured secrets, they unlock our imaginations, and we can give the key to our heart to some one we love.
So I collected together all the keys I had laying around the house for a key collage. I managed to find a key hook to hold your keys, that was a hard find.
We painted the wall "Carmel Apple" and then hung the keys. We added a wall decal sticker of a little chandelier hanging from the doorbell box.
I hope this idea may inspire you to make a collage of your own, out of something you love. Look around and see if maybe you have an unbeknownst to you collection of something and then put it on display, share your passion with others and tell your story.
I still have more projects coming up, as you can see in the background on the kitchen wall, I've been swatch painting all over my house. So hopefully we'll keep getting things done around here, and then I can share them with all of you.
Thanks for stopping by! Nicole
So I've been thinking up projects to work on and today I tackled the nook in the entryway, and the lower half of the dinning room at the same time.
The idea for the nook, came to me one day, when I realized I collect allot of keys. I just love skeleton keys, if I find a really nice looking key, I just have to have it.
I really don't know why I love them so much, but I think it might have something to do with the secret or mystery of what they unlock.
Keys open so many great things, doorways to old long forgotten rooms, hope chests, old iron gates, our diaries filled with our most treasured secrets, they unlock our imaginations, and we can give the key to our heart to some one we love.
So I collected together all the keys I had laying around the house for a key collage. I managed to find a key hook to hold your keys, that was a hard find.
We painted the wall "Carmel Apple" and then hung the keys. We added a wall decal sticker of a little chandelier hanging from the doorbell box.
I hope this idea may inspire you to make a collage of your own, out of something you love. Look around and see if maybe you have an unbeknownst to you collection of something and then put it on display, share your passion with others and tell your story.
I still have more projects coming up, as you can see in the background on the kitchen wall, I've been swatch painting all over my house. So hopefully we'll keep getting things done around here, and then I can share them with all of you.
Thanks for stopping by! Nicole
Tuesday, November 2, 2010
DIY Chandelier Cranberry Candle Wreaths
Hello everyone, I'm really excited to tell you about this project. They are cranberry candle wreaths, that look great when added to your lighting fixture. These are allot of fun to make and are very easy and inexpensive, which is the best part. A quick little project to help get your home ready for the holidays.
I'm making these for a 10 arm chandelier in my dinning room.
To make the cute little cranberry candle wreaths you will need some small grape vine wreaths, that you can find at most craft stores. I got mine at Michaels for 49 cents each x 10 of them so they cost me under $5.
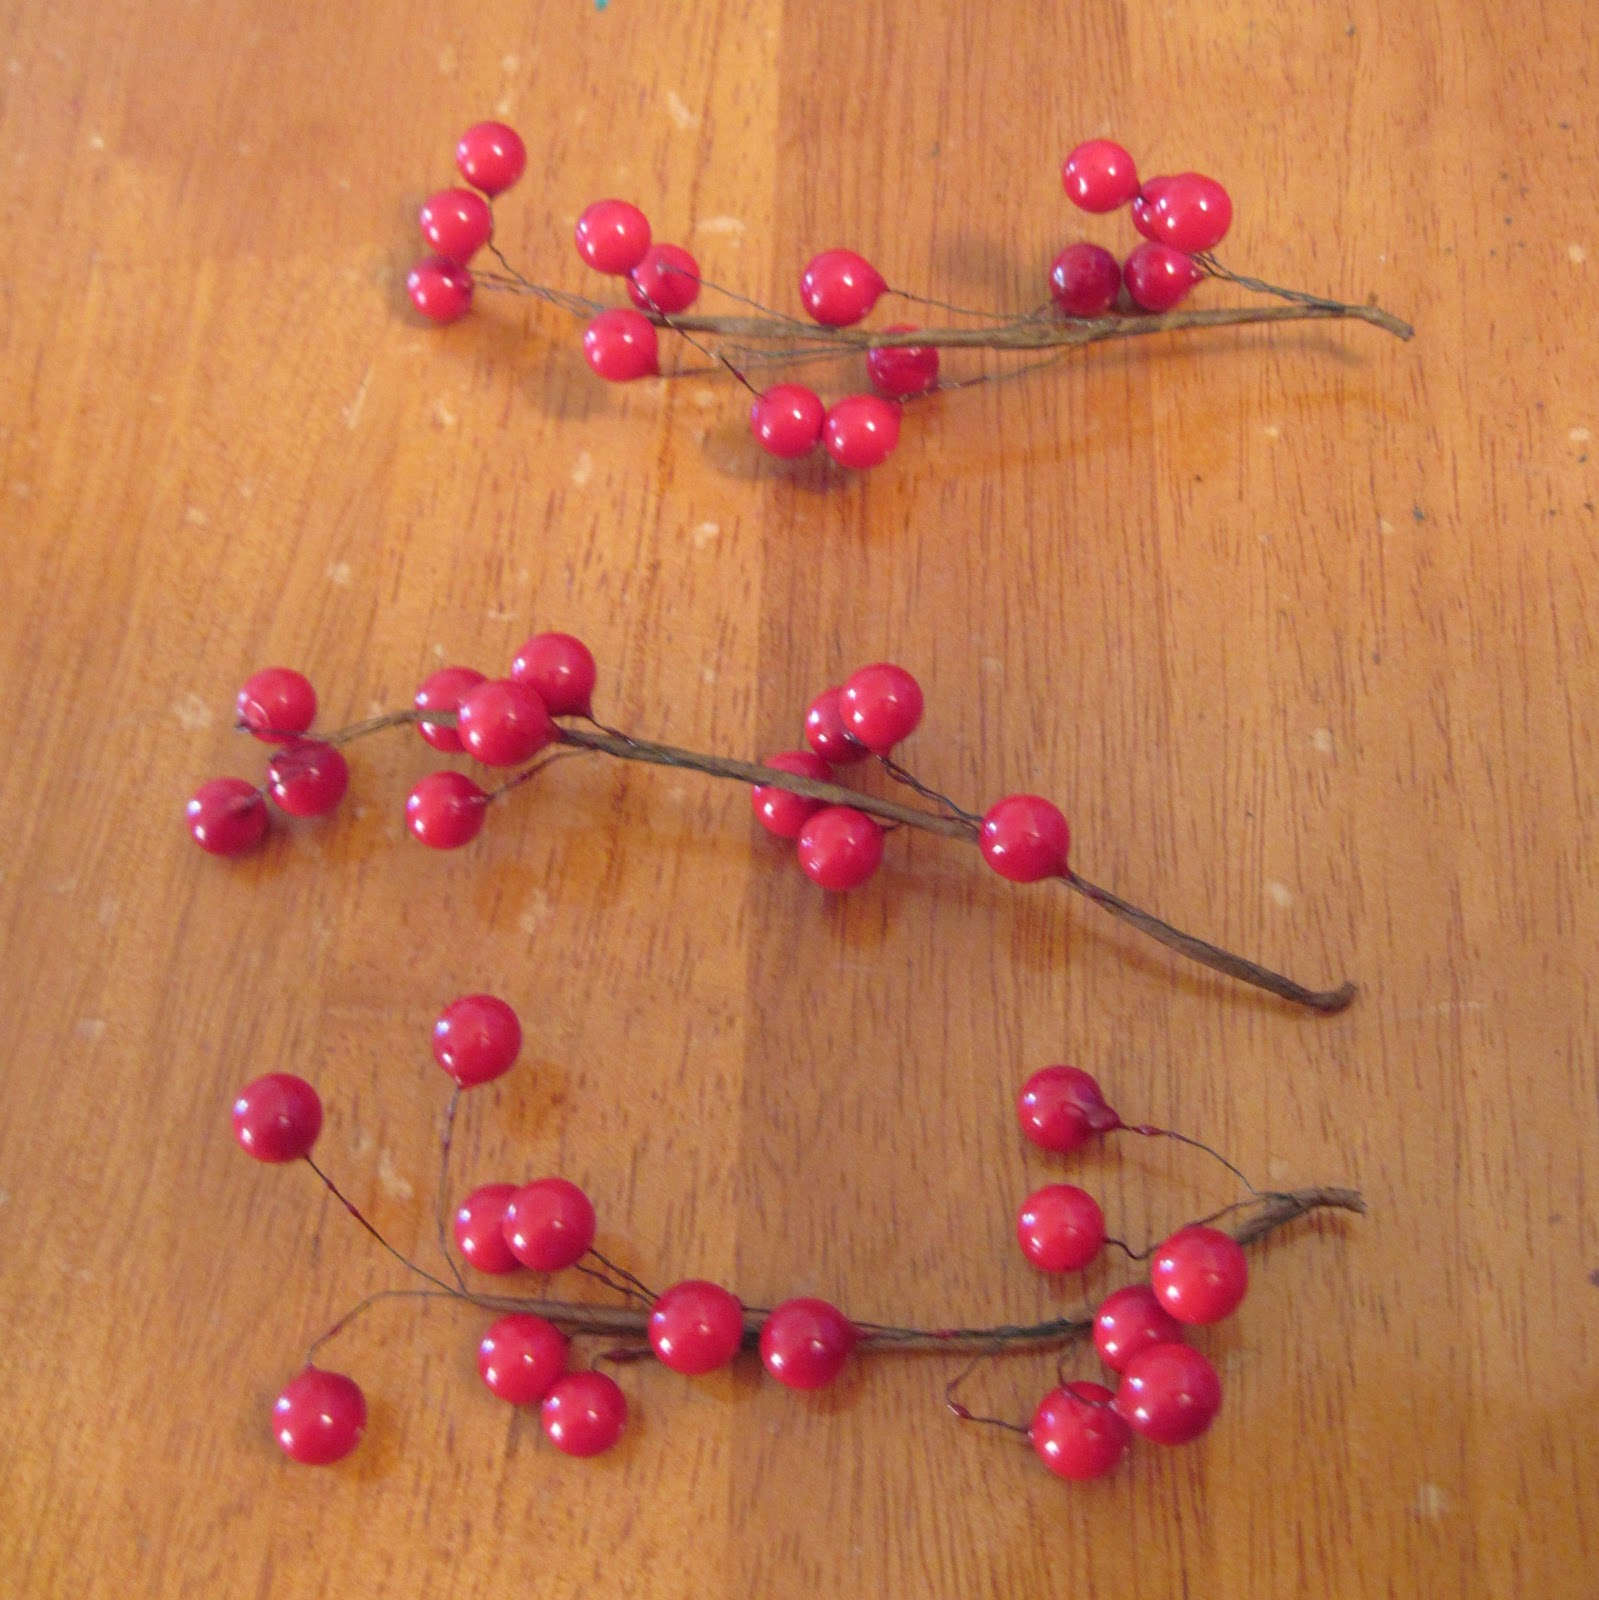
The next thing you will need is a vine of what ever kind of holiday garland you choose, cranberries, holly, little green leaves, candy or gum drop themed, what ever you find that would fit your theme this year. I would like to use mine all year round as I am doing a country theme in my dinning room, so I went with red cranberry. This 5ft vine was on sale so it cost me under $5.
The first thing you need to do is cut little twigs off the main vine, I found that 3 little twigs is enough per wreath.
Then you weave the end of each twig into the wreath, if you picked a vine with a brown color stem it will blend right in with the wreath so you don't even need to hid end of the twig, it just looks like it's part of the wreath.
Begin bending the twig around the wreath in a sort of spiral. Then start positioning your berries or leaves, bending them in what ever random direction you want them to go. Try twisting some of the berry's wires together to help hold them in place.
If you like you can also purchase some craft wire and wrap this around the whole wreath when you are done to secure the berries into place, but this isn't necessary. I didn't use any additional wire, I wanted the berries to be scattered about so that you could easily see them from a distance.
When you have made enough wreaths you can then transfer them to your chandelier. Most candle like chandeliers will have a little "wax trey" at their base, which is perfect for these cute little wreaths to sit in.
This is a great project that instantly transforms a boring light fixture. The red berries I chose really contrast against the newly painted yellow walls in our dinning room. I plan to leave them up all year round as part of my new primitive country theme I am starting in there.
I hope you enjoyed this little project of mine, all done for about $10. This project is so easy and can be a shared family craft. If you have children, give them each a wreath to decorate. Some times I have my son help me out with little projects like this in between our home school classes.
I have some more projects coming up along the lines of primitive home decor that I can't wait to share with all of you, so keep checking back for more.
Thank you for stopping by,
Nicole
I'm making these for a 10 arm chandelier in my dinning room.
To make the cute little cranberry candle wreaths you will need some small grape vine wreaths, that you can find at most craft stores. I got mine at Michaels for 49 cents each x 10 of them so they cost me under $5.
The next thing you will need is a vine of what ever kind of holiday garland you choose, cranberries, holly, little green leaves, candy or gum drop themed, what ever you find that would fit your theme this year. I would like to use mine all year round as I am doing a country theme in my dinning room, so I went with red cranberry. This 5ft vine was on sale so it cost me under $5.
The first thing you need to do is cut little twigs off the main vine, I found that 3 little twigs is enough per wreath.
Then you weave the end of each twig into the wreath, if you picked a vine with a brown color stem it will blend right in with the wreath so you don't even need to hid end of the twig, it just looks like it's part of the wreath.
Begin bending the twig around the wreath in a sort of spiral. Then start positioning your berries or leaves, bending them in what ever random direction you want them to go. Try twisting some of the berry's wires together to help hold them in place.
If you like you can also purchase some craft wire and wrap this around the whole wreath when you are done to secure the berries into place, but this isn't necessary. I didn't use any additional wire, I wanted the berries to be scattered about so that you could easily see them from a distance.
When you have made enough wreaths you can then transfer them to your chandelier. Most candle like chandeliers will have a little "wax trey" at their base, which is perfect for these cute little wreaths to sit in.
This is a great project that instantly transforms a boring light fixture. The red berries I chose really contrast against the newly painted yellow walls in our dinning room. I plan to leave them up all year round as part of my new primitive country theme I am starting in there.
I hope you enjoyed this little project of mine, all done for about $10. This project is so easy and can be a shared family craft. If you have children, give them each a wreath to decorate. Some times I have my son help me out with little projects like this in between our home school classes.
I have some more projects coming up along the lines of primitive home decor that I can't wait to share with all of you, so keep checking back for more.
Thank you for stopping by,
Nicole
Subscribe to:
Posts (Atom)